How to Replace a Garage Door Chain
Replacing a garage door chain can seem like a daunting task, but with the right guidance, it’s a DIY project you can tackle with confidence. A faulty chain can cause your garage door to malfunction, leading to inconvenience and potential safety hazards.
By learning how to replace the chain yourself, you can save on repair costs and ensure your garage door operates smoothly. This guide will walk you through the step-by-step process, making it easier than you think to get the job done.
Take control of your garage door maintenanceand discover the benefits of DIY repairs.
Key Takeaways
- Learn the importance of replacing a faulty garage door chain
- Understand the benefits of DIY garage door repair
- Discover the step-by-step process to replace the chain
- Save on repair costs by doing it yourself
- Ensure your garage door operates safely and smoothly
Understanding Garage Door Chain Issues
Understanding the problems associated with garage door chains is crucial for homeowners. Garage door chains are subject to wear and tear, and neglecting maintenance can lead to significant issues.
Signs Your Garage Door Chain Needs Replacement
Several signs indicate that your garage door chain needs replacement. These include visible wear, unusual noises, and uneven movement of the garage door. If you notice any of these signs, it’s essential to consider replacing the chain to avoid further complications.
Common Causes of Chain Failure
Chain failure often results from lack of lubrication, misalignment, or excessive wear. Regular garage door maintenance can help prevent these issues. Understanding the causes can help you take proactive measures to extend the life of your garage door chain and avoid costly chain replacement.
Tools and Materials Needed
Before starting the garage door chain replacement process, it’s essential to gather the necessary tools and materials. Having everything on hand will make the task more efficient and help ensure a successful repair.
Essential Tools for the Job
To replace a garage door chain, you’ll need a set of basic tools, including a wrench, pliers, and a screwdriver. A socket wrench is particularly useful for loosening and tightening the chain tension. Additionally, having a ladder or step stool will provide safe access to the garage door mechanism.

Selecting the Right Replacement Chain
Choosing the correct replacement chain is crucial for the smooth operation of your garage door. Refer to your garage door’s manual or manufacturer’s website to determine the correct chain type and size. It’s also a good idea to inspect the old chain to ensure the replacement is compatible. The following table outlines the key factors to consider when selecting a replacement chain:
| Chain Type | Chain Size | Compatibility |
| Roller Chain | 1/2″ or 5/8″ | Check manufacturer’s specs |
| Silent Chain | 1/4″ or 3/8″ | Verify with garage door model |
Garage Door Chain Replacement Step-by-Step
DIY enthusiasts can breathe new life into their garage door by following a step-by-step chain replacement guide. Replacing a garage door chain might seem like a complex task, but with the right tools and a bit of patience, it’s a manageable DIY garage door fix that can save you money on maintenance costs.
Safety Precautions Before Starting
Before diving into the replacement process, it’s crucial to take necessary safety precautions. Ensure your garage door is closed and disconnected from the automatic opener by pulling the release handle. This prevents any accidental door movements that could cause injury. Wear protective gear, including gloves and safety glasses, to protect yourself from potential hazards.
Safety is not just a precaution, it’s a necessity when working with potentially hazardous equipment like garage doors.
Garage Door Safety Guide
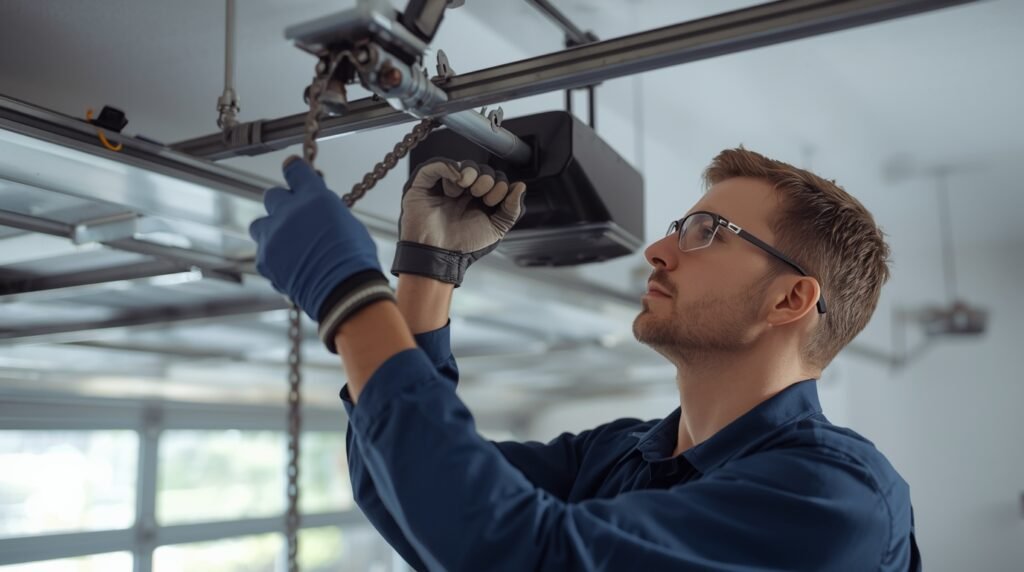
Removing the Old Chain
To remove the old chain, start by identifying the chain tensioning mechanism. Loosen the tension by turning the adjustment bolt counterclockwise. Once the tension is released, you can remove the chain from the sprockets and other hardware. Take note of how the old chain is routed and connected, as this will be helpful when installing the new chain. If you’re unsure about any part of this process, consider consulting a professional for a garage door maintenance check.
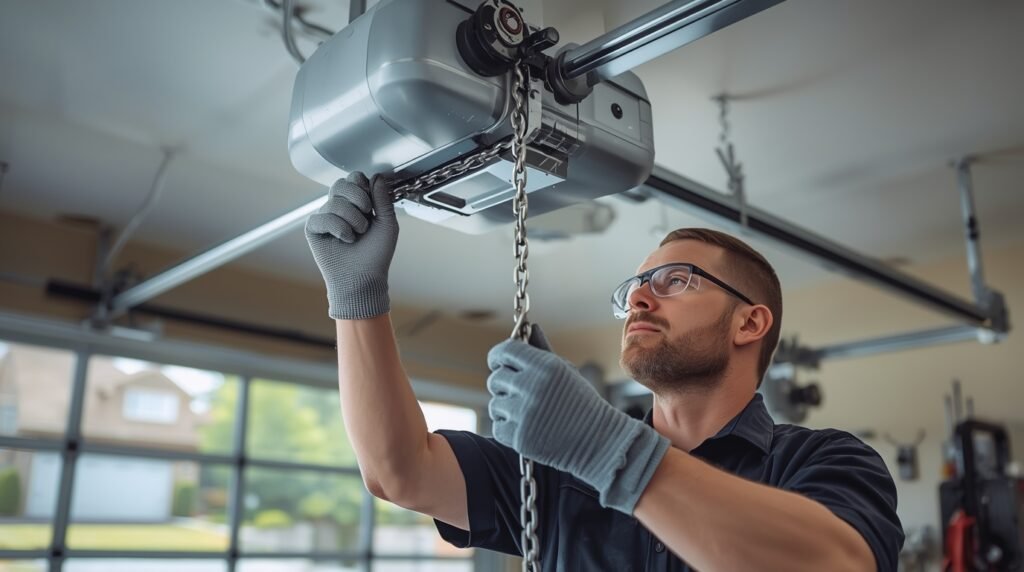
Installing the New Chain
With the old chain removed, you’re ready to install the new one. Begin by threading the new chain around the sprockets, following the same path as the old chain. Ensure it’s properly seated on all sprockets and aligned correctly. Tighten the chain tension by turning the adjustment bolt clockwise. Be cautious not to overtighten, as this can cause undue stress on the garage door system. The cost of a new chain can vary, but on average, the chain replacement cost ranges from $50 to $150, depending on the type and quality of the chain.
Testing and Adjusting the Tension
After installing the new chain, reconnect the garage door to the automatic opener and test its operation. The door should move smoothly along its track without jerking or making excessive noise. If necessary, adjust the chain tension to achieve the optimal balance between being too loose or too tight. Proper tension is key to the longevity and smooth operation of your garage door, making regular garage door maintenance essential.
By following these steps, you can successfully replace your garage door chain, ensuring your garage door operates efficiently and safely. Regular maintenance and timely replacements are crucial for extending the lifespan of your garage door system.
Conclusion
Replacing a garage door chain can seem like a daunting task, but with the right steps and tools, it can be done efficiently. By following the guide outlined in the previous sections, you can ensure a successful Garage Door Chain Replacement and enjoy a smooth and hassle-free garage door operation.
Proper garage door maintenance is crucial to extend the lifespan of your garage door. Regularly inspecting and replacing worn-out parts, such as the chain, can prevent more costly repairs down the line. A well-maintained garage door also enhances the overall security and value of your property.
By applying the knowledge gained from this guide, you can confidently perform garage door repair tasks, including Garage Door Chain Replacement. With a little practice and patience, you’ll be able to maintain your garage door with ease, ensuring it continues to operate smoothly for years to come.