7 Easy Steps to Replacing Garage Door Hinges Successfully
Garage door hinges may look like small, simple hardware, but they play a critical role in the overall function and safety of your garage door. Over time, they can wear out, loosen, or even crack, leading to a host of issues if not addressed promptly. This guide will walk you through why hinge replacement matters, the benefits it brings, and the step-by-step process to do it right.
Why It’s Important to Replace Garage Door Hinges
Garage door hinges connect the door panels, allowing them to bend and move smoothly as the door opens and closes. When these hinges weaken, the door may begin to operate unevenly, make excessive noise, or place strain on the tracks and rollers. Timely replacement not only restores smooth functionality but also extends the lifespan of the entire system.
Benefit #1: Solve Common Door Problems
Worn-out hinges are one of the leading causes of squeaky or uneven garage doors. Replacing them can immediately reduce noise, improve movement, and prevent the door from sticking halfway. It’s a quick fix that solves some of the most frustrating everyday issues.
Benefit #2: Avoid Costly Future Repairs
Ignoring damaged hinges can lead to larger problems, such as misaligned tracks, broken rollers, or even panel damage. By addressing the problem early, you avoid expensive repairs down the road and keep your garage door in top working order.
Benefit #3: Refresh the Style of Your Garage Door
Beyond functionality, new hinges can also improve your garage door’s appearance. Modern hinges come in a variety of finishes and designs, offering a subtle but effective way to refresh the look of your garage. This is especially valuable if you’re updating your home’s exterior.

Step-by-Step Process for Changing Garage Door Hinges
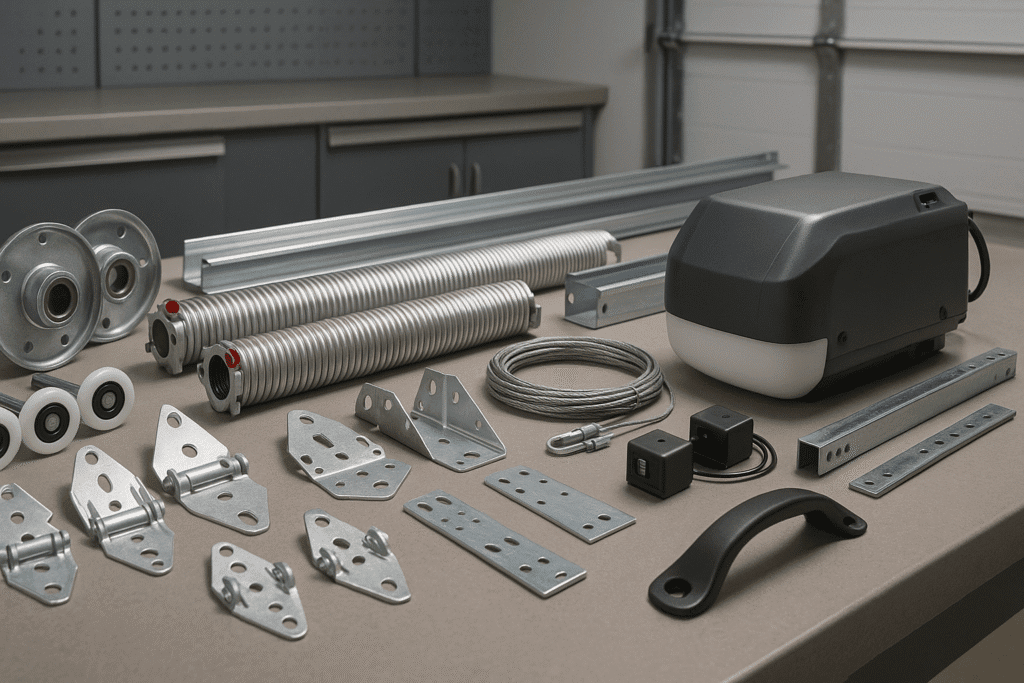
Step 1: Gather the Right Replacement Hinges
Start by identifying the type and size of hinges your garage door uses. Hinges are typically numbered (#1, #2, #3, etc.), with each number indicating its specific placement on the door. Be sure to purchase replacements that match.
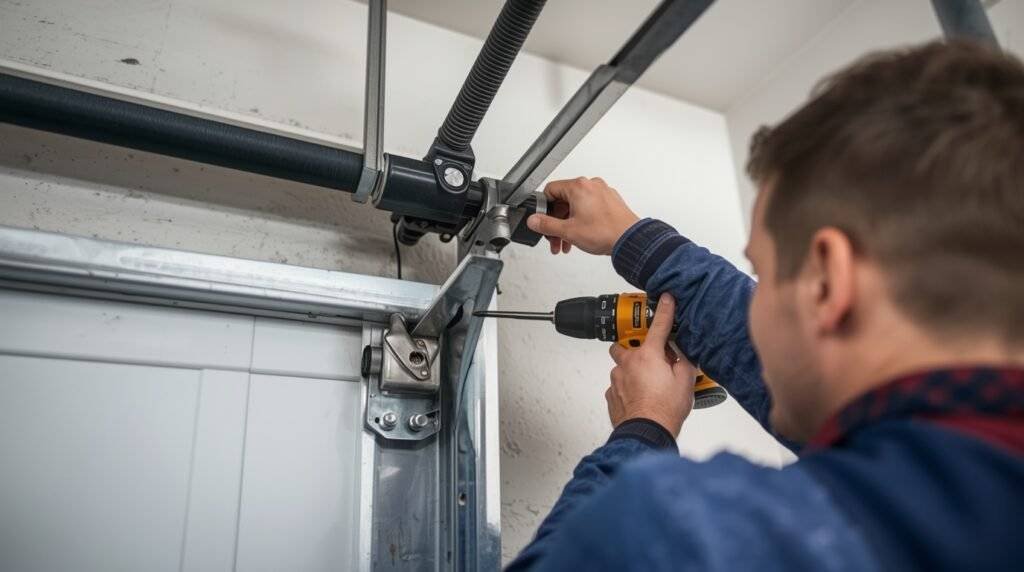
Step 2: Safely Remove the Old Hinges
Before beginning, unplug the automatic opener to prevent accidental operation. Use a socket wrench or screwdriver to carefully remove the screws holding the old hinge in place. Support the door panel while working to avoid strain or damage.
Step 3: Install and Secure the New Hinges
Position the new hinge in place and fasten it tightly with the appropriate screws or bolts. Make sure it’s flush against the door panel and properly aligned to prevent strain on the rollers.
Step 4: Check and Test the Door’s Operation
Once the new hinges are installed, reconnect the opener and test the door. It should move smoothly without grinding or squeaking. If you notice resistance, double-check the hinge alignment and screw tightness.
Final Thoughts on Replacing Garage Door Hinges
Replacing garage door hinges may seem like a minor task, but it has a major impact on your garage door’s performance, appearance, and safety. From reducing noise to preventing expensive repairs, new hinges can give your garage door a fresh lease on life. Whether you choose to replace them yourself or call in the professionals, timely hinge replacement is a smart investment for your home.
FAQs
1. How often should garage door hinges be replaced?
On average, garage door hinges should be inspected annually and replaced every 5–7 years, depending on usage and wear.
2. Can I replace just one hinge, or do all need to be replaced?
You can replace a single damaged hinge, but it’s often recommended to replace multiple hinges at once to ensure consistent performance.
3. What are the signs that my garage door hinges are failing?
Common signs include squeaking noises, visible cracks in the hinge, uneven door movement, and extra strain on rollers.
4. Are all garage door hinges the same size?
No, garage door hinges come in different sizes and are numbered to fit specific panel positions. Always match the number on the old hinge when buying replacements.
5. Is it safe to replace garage door hinges myself?
Yes, hinge replacement can be a safe DIY project if you follow proper precautions. However, if your door is particularly heavy or you’re unsure about the process, hiring a professional is the safer choice.
6. How much does professional hinge replacement cost?
Costs vary depending on the type of door and number of hinges, but most professional replacements range from $100–$200, including parts and labor.